

Seed collection is vital for us and for the genetic diversity of Life. But sometimes collecting the seed is the easiest part. Perth has many gardens with many types of seeds, very nearly all with one thing in common. Sorting the SEED from the sheath, shell, pod etc
One contraption I was introduced into over 15 years ago by an old farmer with knack for knowing how to make some cool stuff to make life easy on the farm. One such farm tool (that’s right, this is used just the same as any other tool, maintained and always ready to work) is this awesome SEED SEPARATOR.
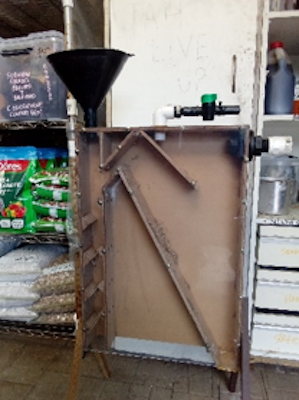
Figure 1 Vacuum Seed Separator at ONENESS FARMS
How it works:
Step 1- After collecting your seed and have set up the separator, a vacuum and have your catch buckets/containers ready. Crack the shells, pods, casings, sheathes etc to dislodge the seed. Once carefully broken up, collect into a container. You can move on to the next step.
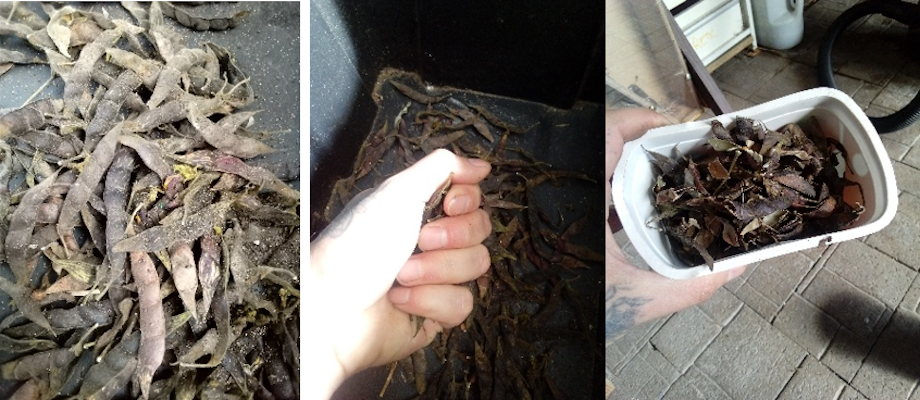
Figure 2 Gungo Pea Pods Collected, Cracked and Contained
Step 2- Next is to attach the vacuum to the Right-Hand side port. Leave the valve (located on the top next to the inlet funnel) fully open for the moment. Place one collection container under the Left-Hand Side legs where the exit port is. Put another on the Right-Hand Side legs where the latched thatch exit port is. Plug in your vacuum and turn the plug on. Now turn on the vacuum and take a small amount of the seed/shell mix and put it down the funnel. Watch it as it falls, if it goes right down both seed and shell, out of the left side – turn the valve half open. Collect your trial seed and do it again. Keep trialling the valve opening until the right pressure is found that the seed falls left and the shell gets sucked right.
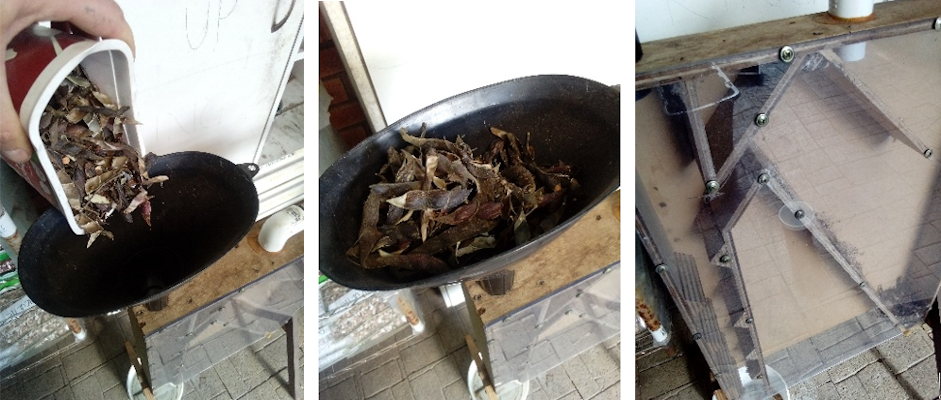
Figure 3 Set up, Vacuum and Trial done
Step 3 – Now we are set up, we can slowly and gently, in small half handfuls, start to forward the mix into the inlet funnel. If the pressure is correct, the seed will go left and the shells right. Some minor bottlenecking will occur in the inlet funnel, so gently gently as she goes. Poke a small stick down if it does clog. Keep going through the mix until it is all done. You may need to redo the batch again a few times to remove most if not all, of the spent material. Once done, turn off the vacuum. Now you can open up the right-hand side bottom latch to release the shells. Doing this while the vacuum is on will just lift them back up and they won’t fall out. Compost the spent material.
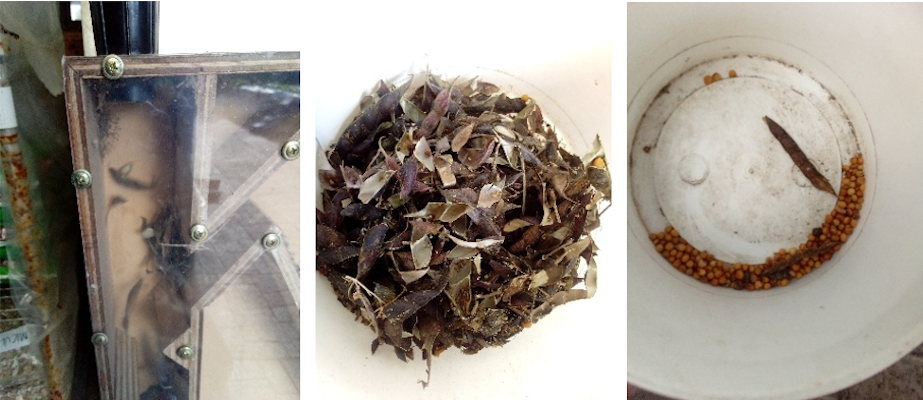
Figure 4 L: Showing the Vacuum Pulling the Shells to the Right M: The Spent Shells R: The Cleaned Seed Collected and Ready to Finish Curing Before Storing
Giving thanks for the abundance of seed so you too can become a seed saver with your seed separator.
Ras Mark Suburban Farmer