
Blessed Mumma Earth always provides! In this blog we are looking at creating Compost from your own gardens. Giving you a FREE source of Soil Health Conditioning/Strengthening, and, quite possibly upsetting some Green Wheelie bin enthusiasts, probably confusing some formal gardeners, and most definitely annoying big chain suppliers and such. Why buy when you already have. This is not a go at suppliers and municipal services, but a strength to your knowledge. Environmentally friendly and responsible, utilising IMO’s (Indigenous Micro Organisms) specifically suited to your area and location, whilst also maintaining your gardens.
Location and size matters
How much compost do you want to make? If you need less than 200l and only have minimal waste, go for a smaller sized bin that you can easily fill. Either a Rotary Geared 2 section, reputable bin or a bottomless Static bin aka Dalek. Faster breakdown occurs in rotating systems. If you have a need for over 200l, perhaps a Biomass pile will do the job. This set up can hold up to 1 cubic meter of Compost. Usually consisting of used pallets to form a Three-Sided box, dumping at the open side and covering with a tarp or similar. Both need to be in semi shade or morning shade, both need to be near a water source, both need to be accessible but not in the way, both need room to decant, both need to be aerated weekly . Both can be made cheap, or you can find expensive options if you wanted. Be careful with flip flop composters. Theses are the ones that flip over on an axle. As the weight shift’s to the bottom of the holder, as composition happens, it takes more force to turn or flip it. This is where the danger can sometimes happen. Be careful not to flip yourself, or injure your arms. Always if it is getting too heavy, ask for some help. It can be a great activity and team work always wins together.
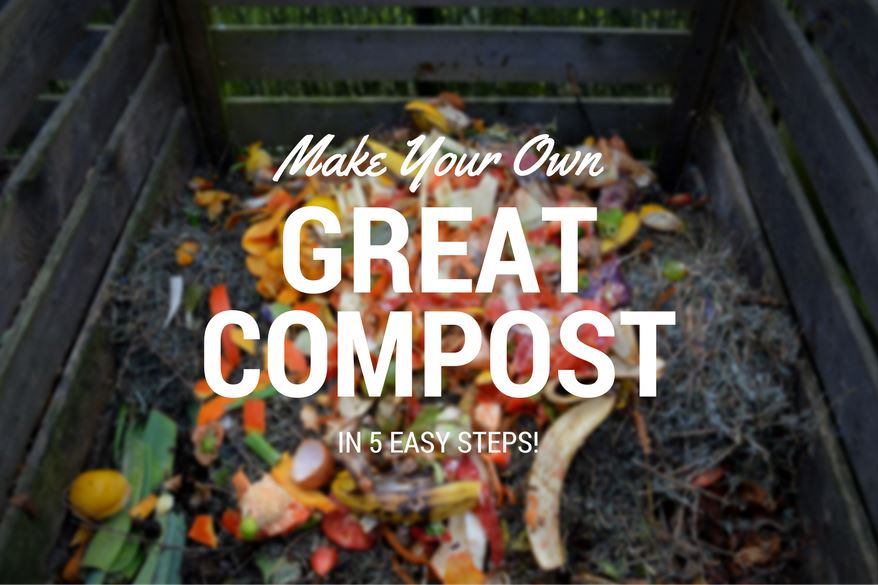
Collecting your BLACK GOLD aka waste
Whatever option you choose, the filling procedure is still the same. There is a ratio of Fresh (Green) waste, to Dry (Brown) waste that is recommended. That is: Carbon to Nitrogen (C:N) 30-40:1 or simply, 3/4 parts Brown to 1 part Green. You can use anything that has or had a Carbon Atom. Just chop it up into small pieces and in some cases, run a lawn mower over what you can or better yet, get a mulcher.
For Browns (sticks, branches, leaves, cardboard, paper, dead dry plant material) nothing over 15mm diameter and 10cm length.
Greens (any living plant material, grass, pruning’s, leaves, moss, vegetables) nothing over 15mm diameter and chopped to 15cm lengths.
Filling your composter
Empty your kitchen waste into a collecting bin specific for kitchen green waste. And another for Browns. Once you have collected enough for about half of the static or smaller (under 200l) systems, layer it and give a little watering with the hose each brown layer. Not too much though, just a light amount to get it primed. Then continue to fill until topped up. For Rotary Geared bins, fill one side at a time, allowing for a production line as you swap sides. Give it a forking or compost turn spiking once a week.
Now, for Biomass piles. Instead of trimming small amounts a lot of the time to fill the 1m3, save all the effort for one or two massive garden maintenance runs. I do mine around every 6 months. This way you can ensure to have enough material to fill to at least 800l. then you can top with anything missed and lawn clippings. Not too many so you don’t get Nitrogen Drawback occurring. When filling, the same layering happens. The same watering happens, but just on a larger scale. Cover with a tarp or similar and once a week, give it a little watering for around 5-10 mins.
So when is it ready?
Generally speaking, these bin type systems can take somewhere between 3 weeks and a few months to mature, depending on capacity/size. Static bins, usually the compost at the bottom will be ready first whilst sometimes breaking down in stages towards the surface. Rotating Geared bins contents will all be ready at the same time. Keep the mixture damp and when it has a soil like consistency and an earthy smell it is ready to go. If it has a funky smell or vinegar smell, its fermenting, so adjusting the ratio (Green to Brown) and making sure that air is getting in there and not becoming anaerobic. A Biomass pile can take 6 months to over a year to compost. But remember, these are for larger beds and areas.
If you have a static composter you will have to at some stage empty it, usually via a hatch at the bottom or by lifting the lid off and tipping it over, spreading the black gold where needed. If you have a Biomass, use a wheelbarrow and shovel to spread it. I do not dig it in.
The roots of the plants and the life found within the soil is packed with nutrition and vibration soaking it all up and storing it for use to feed themselves. So why not do as nature does, albeit a little faster. We love you Blessed Mumma Earth. Thank you for our compost.
Blessings, Ras Mark Suburban Farmer.